-
×
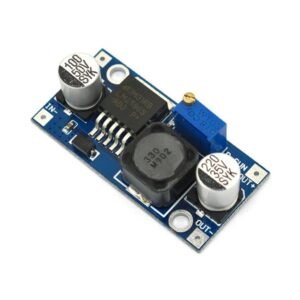 LM2596 Step-Down Adjustable DC-DC
1 × 300 L
LM2596 Step-Down Adjustable DC-DC
1 × 300 L
Nënshumë: 300 L
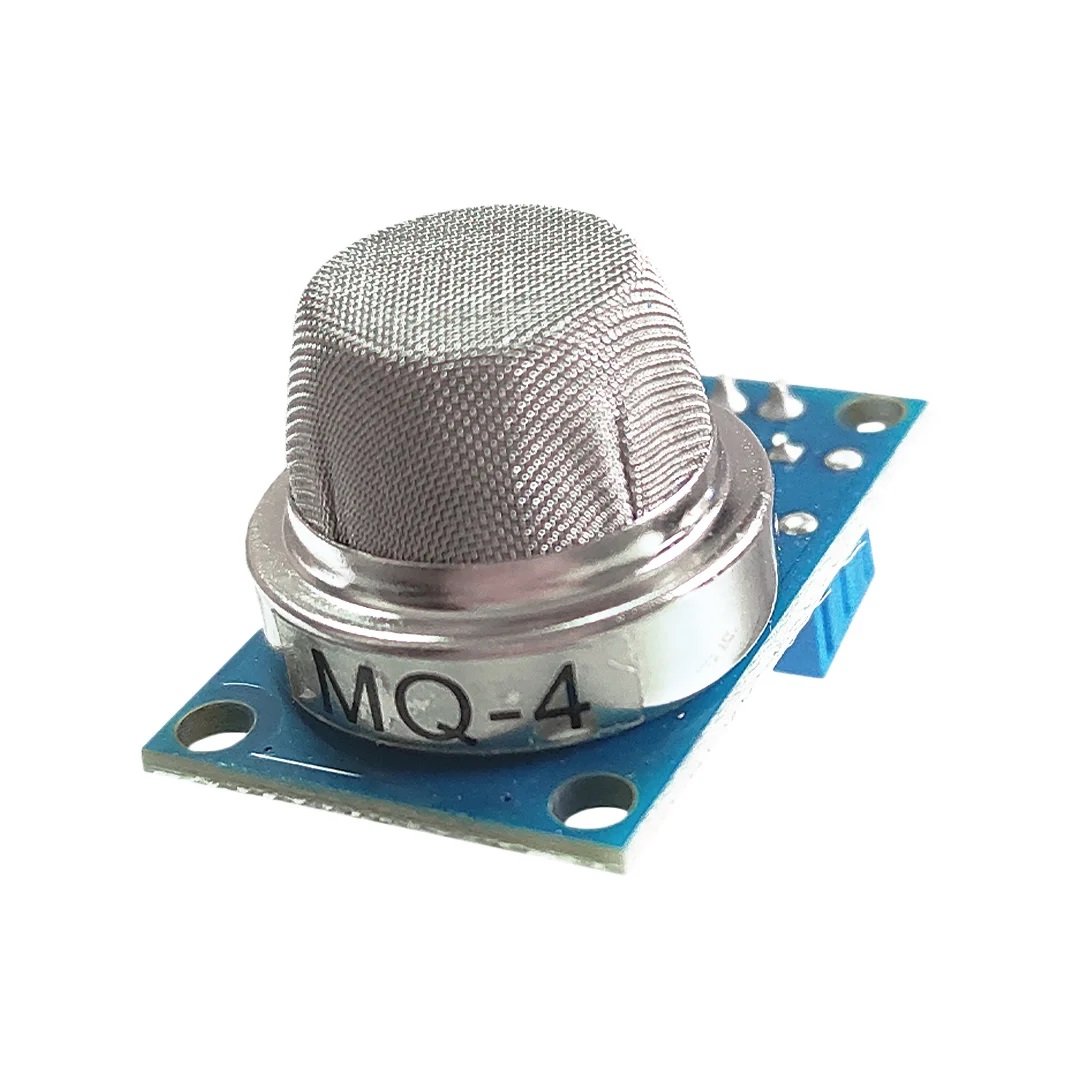
The MQ-4 Gas Sensor Module
Overview
MQ-4 sensors detect the presence of methane gas (CH4) in the air. Methane gas is the largest component of natural gas. There are many applications for detecting CH4, such as detecting rotting foods (especially produce). This tutorial walks through the process of connecting an MQ-4 sensor to an Arduino Uno microcontroller (or equivalent – like an Elegoo) and printing out an analog output representing the methane concentration in the air. It also uses a digital output to trigger a red LED light to illuminate when methane levels reach and exceed a threshold.
What is an MQ-4 Sensor and How Does it Work?
MQ-4 Gas Sensor Pinout, Datasheet, Features, Specs & Uses
MQ-4 Sensor
Image source: https://components101.com/sensors/mq-4-methane-gas-sensor-pinout-datasheet
An MQ-4 sensor detects the concentration of methane/natural gas in the air (in ppm, or parts-per-million). The analog pin of the sensor generates an analog signal proportional to the amount of gas in the air (through what is called signal conditioning), and outputs the reading as an analog voltage. There is also a digital output (DO) pin of the sensor that can be used for different activities commanded by the Arduino.
Note that the way this specific MQ-4 sensor comes, the potentiometer on the underside of it is preset based on a certain threshold, triggering a digital output of HIGH (1) or LOW (0).
In this tutorial, we will set it up so that when methane gas is detected (and the digital pin is HIGH), an external LED lights up.
While there are inbuilt LEDs on the bottom side of this MQ-4 sensor, they are very small and dim and difficult to see – especially if the sensor is hooked up to a complex circuit or even positioned so that the underside is covered.
Pin Configuration
The MQ-4 sensor has four types of pins. The table below shows each of the unique pins, their functions, and the corresponding pins they will connect to on the Arduino.
Sensor Pin Sensor Pin Function Arduino Pin
AO Generates an analog signal proportional to the intensity of methane detected in the air Analog pin 0
DO Generates a digital signal with a limit set using a potentiometer Digital pin 8
GND Reference potential (the “ground”) GND
VCC Positive power supply 5V
Part I: Connect the MQ-4 Sensor and Arduino
We start by connecting the MQ-4 and the Arduino.
Start by connecting the MQ-4 sensor to the breadboard. Its four pins should fit easily into four adjacent holes. On the back of the sensor, there are labels for what the four different pins are – take note of the order, as this will be important for connecting the wires. You can always look at the back of the sensor for reference as you are assembling the circuit!
Now, we move on to connecting the four different pins. Start with the analog output. In the same row on the breadboard that the sensor’s A0 pin is set, place a blue wire in a hole in the same row on the breadboard. Connect the other end of the wire to the “A0” pin on the Arduino.
Next, we move to connecting with the “DO” pin – the digital output. Using a wire (shown as green in the diagram), place one end in a hole in the same row as the DO pin o the sensor. Connect the other end of the green wire to digital pin 8.
Then, we set up a connection to the ground pin (“GND”) of the sensor. Use a wire (shown as white in the diagram), and place one in in a whole in the same row on the breadboard that the sensor’s GND pin is set, and place the other end the negative rail of the breadboard.
The last pin on the sensor is “VCC” – this will connect to power. Connect one end of a wire (shown as red in the diagram) into a hole in the same row on the breadboard as the VCC pin of the sensor, and place the other end in the positive rail of the breadboard. We will be adding one more thing to this circuit – and LED light, so we do not want to close the circuit here.
Part II: LED
Now we will move on to connecting a red LED that will light up when the methane detected by the sensor exceeds a threshold.
Start by placing a red LED into the breadboard. I suggest placing it further over to the left of the sensor (as shown in diagram) so that the wiring won’t get too tangled. Place the LED so that the shorter end ()the anode) is in a breadboard hole to the left; you will put the longer end (the cathode) directly to the right of it in the same column.
Connect a 220-ohm resistor. Place one end of the resistor in a hole in the same row as the LED’s cathode and place the other end in the negative rail of the breadboard.
Then, using a wire (shown as yellow in the diagram), connect one end to a hole in the same row as the LED’s cathode, and the other end to Digital pin 13 on the Arduino.
Now we connect this back to the ground. Use a wire (shown as white in the diagram) to connect from the negative rail to GND (ground) on the Arduino on the side with digital pins.
Working Principle of MQ-4 Gas Sensor: The MQ-4 gas sensor is a type of semiconductor sensor that detects the concentration of various gases in the air. It is often used for detecting methane (CH₄), natural gas, propane, and other combustible gases. The working principle involves the change in electrical conductivity of the sensor material when it comes into contact with a specific gas.
Here are the key steps in the working principle:
Material Sensing:The MQ-4 sensor typically contains a small ceramic element coated with a material sensitive to the target gas (e.g., methane).
Heating Element:The sensor has a built-in heating element that heats the ceramic material to a high temperature (usually around 200-300 degrees Celsius). This heating is essential for the sensor’s operation.
Gas Absorption:When the target gas is present in the air, it is absorbed by the sensitive material on the ceramic element.
Change in Conductivity:The absorption of the gas causes a change in the conductivity of the ceramic material. The conductivity is directly proportional to the concentration of the target gas.
Measurement Output:The change in conductivity is converted into an electrical signal, which is then measured by the sensor’s circuitry.
Output Signal:The sensor produces an output voltage or resistance value that corresponds to the concentration of the detected gas.
Calibration:To provide accurate readings, the sensor may need calibration to account for environmental factors and ensure reliable performance over time.
Select at least 2 products
to compare


There are no reviews yet.